
how to charge a whipped cream dispenser
How to Charge a Whipped Cream Dispenser: A Comprehensive Guide
Whipped cream dispensers are invaluable kitchen tools for creating perfect whipped cream at home, whether for desserts, drinks, or garnishes. Understanding how to charge a whipped cream dispenser properly is crucial for achieving the best results. This guide will walk you through everything you need to know about charging these dispensers safely and effectively.
What is a Whipped Cream Dispenser?
A whipped cream dispenser is a kitchen gadget that uses pressure to aerate cream, turning it into fluffy whipped cream. The dispenser operates by using nitrous oxide (N2O) chargers, which create the pressure required to turn the liquid cream into a light, airy texture. Knowing how to charge your dispenser properly ensures that you get consistent results each time.
Why Charging is Important
Charging a whipped cream dispenser is more than just a step in the process—it’s what enables the device to work. The N2O cartridges infuse the cream with air, resulting in the smooth and creamy texture desired. Charging also helps maintain the correct pressure for dispensing, preventing issues like clogging or uneven whipped cream texture.
How to Choose the Right N2O Charger
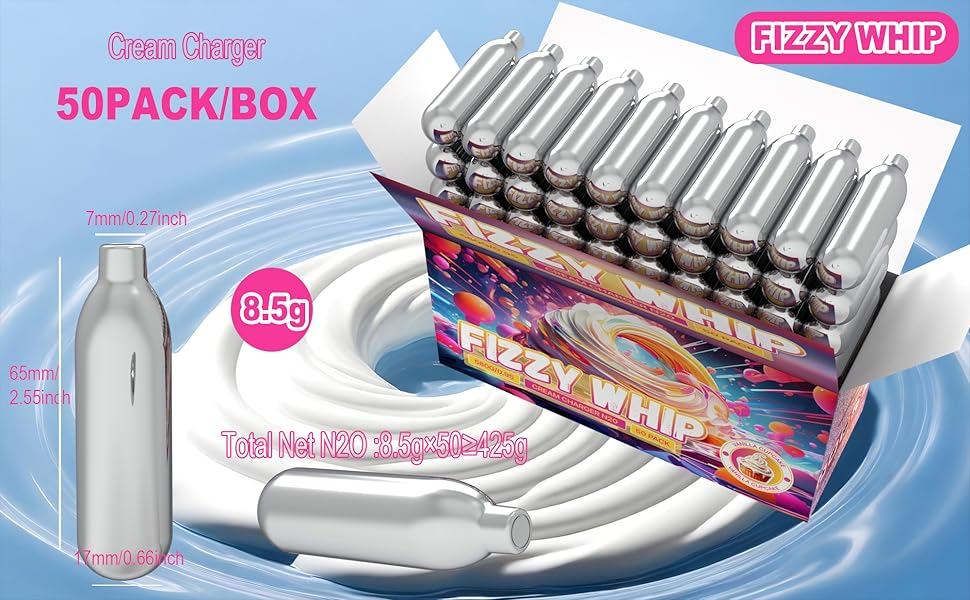
Not all chargers are created equal, and using the right one for your dispenser is essential. When selecting an N2O charger, make sure it is compatible with your whipped cream dispenser model. There are typically two standard sizes of N2O chargers: 8-gram and 16-gram.
8-gram chargers: These are the most common size and work well with most dispensers. 16-gram chargers: Typically used for larger dispensers or those that require more pressure.Always check the manufacturer’s specifications to confirm the charger size before purchasing.
Step-by-Step Guide to Charging a Whipped Cream Dispenser
Charging a whipped cream dispenser is a straightforward process, but it’s important to follow the steps carefully to ensure proper functionality and safety.
Step 1: Prepare the Whipped Cream Dispenser
Before inserting the charger, ensure that your dispenser is clean and properly assembled. Remove the top of the dispenser, and check that the internal valve is free from any debris or old cream that could block the nozzle. It’s also important to fill the dispenser with fresh cream, ensuring it doesn’t exceed the maximum fill line.
Step 2: Insert the N2O Charger
Once the dispenser is prepared, place the N2O charger into the charger holder. The holder should align with the threaded nozzle on the dispenser. Screw the charger into the holder slowly and securely until it punctures the cartridge. You’ll hear a hissing sound as the gas is released into the dispenser.
Step 3: Shake the Dispenser
After charging, shake the dispenser vigorously. This step helps to mix the nitrous oxide with the cream, ensuring a smooth consistency. Typically, shaking the dispenser for about 10-15 seconds is enough. The more you shake, the better the cream will be aerated.
Step 4: Test the Dispenser
Once the dispenser is charged and shaken, it’s time to test it. Hold the dispenser upside down and press the nozzle to release a small amount of whipped cream. If the cream flows smoothly and has a light, airy texture, your dispenser is ready for use. If not, you may need to charge it again or check for any blockages.
Tips for Properly Charging Your Whipped Cream Dispenser
Ensure the Right Temperature
The temperature of the cream plays a key role in the whipping process. It’s best to use cold cream, as it will whip better when combined with the nitrous oxide. Refrigerate the cream and the dispenser before use for optimal results.
Don’t Overfill the Dispenser
Filling your whipped cream dispenser too much can prevent the cream from whipping properly. Always ensure that the cream does not exceed the fill line indicated in the dispenser.
Use Fresh Cream
For the best results, always use fresh, high-fat cream (whipping cream or heavy cream). Avoid using any cream that has been sitting out for too long or has been previously whipped, as it may not perform as well.
Proper Storage After Use
Once you’ve used the dispenser, store it in the refrigerator if you plan to use the remaining whipped cream later. The cream inside the dispenser can last for several days when refrigerated, but it’s important to clean the dispenser after each use to maintain hygiene and prevent buildup.
Be Careful with Nitrous Oxide Chargers
Nitrous oxide chargers can be dangerous if mishandled. Always store chargers in a safe place away from heat and never puncture them manually. Make sure you’re following all safety precautions when using and storing N2O chargers.
Common Problems When Charging a Whipped Cream Dispenser and How to Fix Them
Even though charging a whipped cream dispenser is usually a simple process, there can be a few issues that arise from time to time. Here are some common problems and solutions to help troubleshoot them.
Issue 1: No Cream Comes Out
If no cream comes out when you press the nozzle, there may be a few potential causes. First, check if the dispenser is properly charged. If the charger was not fully punctured, the cream may not dispense. Another possibility is that the nozzle or valve is clogged with cream residue. Clean these parts thoroughly and ensure the cream is not overfilled.
Issue 2: Cream is Too Runny
If the cream is too runny or watery, it could be due to using the wrong type of cream or not shaking the dispenser enough. Use a higher-fat cream for better texture and shake the dispenser for at least 10-15 seconds. Also, ensure that the cream is cold before charging.
Issue 3: The Charger Won’t Fit
If the charger doesn’t fit properly, it may be a compatibility issue with the dispenser. Make sure you’re using the correct size charger for your dispenser. If the charger is properly sized, check the dispenser’s thread and charger holder for any damage or obstruction.
Issue 4: Clogged Nozzle
A clogged nozzle can prevent cream from dispensing properly. To fix this, remove the nozzle and clean it thoroughly with warm water. Ensure there is no residue or cream buildup blocking the flow. If the nozzle continues to clog, the problem could be with the internal valve, which may require more extensive cleaning.
Charging a whipped cream dispenser is an essential skill for anyone who enjoys fresh whipped cream. By following the right steps, using the correct chargers, and properly maintaining the dispenser, you can enjoy consistent and high-quality whipped cream for all your culinary creations. Be sure to store and handle the dispensers safely and ensure proper cleaning after every use. With these tips, you’ll become a whipped cream charging expert in no time!