
how to use whip cream dispenser
How to Use a Whip Cream Dispenser: A Complete Guide
Whip cream dispensers are a versatile and essential tool in both home kitchens and professional settings. Whether you’re looking to make fresh whipped cream, mousse, or other dessert toppings, learning how to properly use a whip cream dispenser is a key skill for any culinary enthusiast. This guide will provide all the steps, tips, and tricks you need to get the most out of your whip cream dispenser, from preparation to clean-up.
What is a Whip Cream Dispenser?
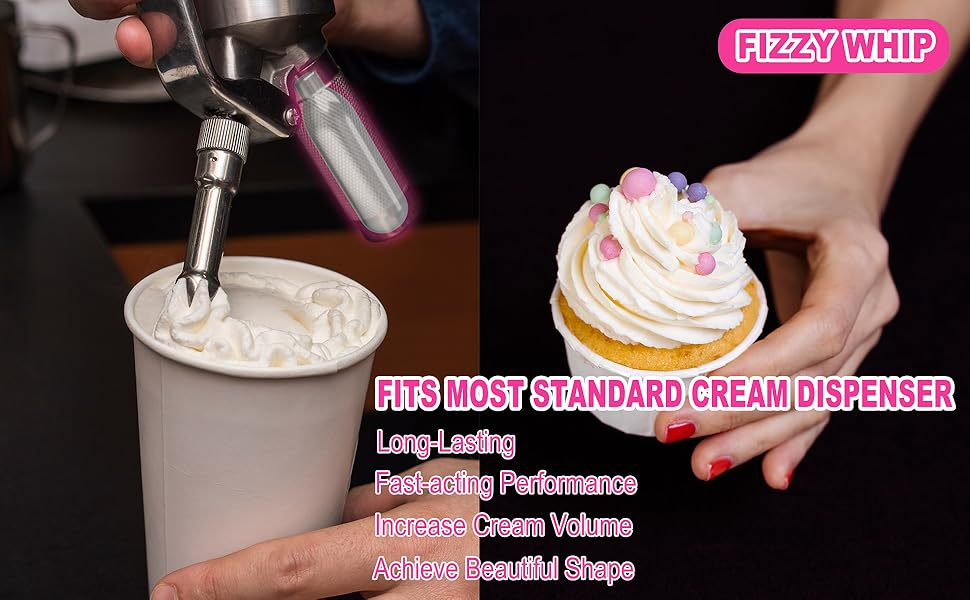
A whip cream dispenser is a kitchen gadget designed to quickly and easily create whipped cream using pressurized gas, usually nitrous oxide (N2O), to whip the cream inside the canister. The pressurized environment forces air into the cream, causing it to expand and thicken, resulting in a smooth, airy whipped cream. It’s an efficient alternative to using a hand mixer or whisk and can produce a lighter and fluffier texture.
Choosing the Right Whip Cream Dispenser
Before you begin using your whip cream dispenser, it’s important to select one that fits your needs. There are several models available, each with unique features, but most follow a similar design. When choosing your whip cream dispenser, consider the following:
Material and DurabilityWhip cream dispensers come in stainless steel or aluminum materials. Stainless steel models are typically more durable and able to withstand higher pressures, making them ideal for frequent use. Aluminum models are generally lighter and more affordable but may not last as long under heavy use.
Size of the CanisterWhip cream dispensers come in various sizes, typically ranging from 0.5 liters to 1 liter. Smaller models are great for home use, while larger dispensers are ideal for commercial kitchens where high volumes of whipped cream are needed.
Compatibility with N2O ChargersEnsure that your whip cream dispenser is compatible with N2O chargers. Most models use standard 8-gram N2O cartridges, but there are some that use different sizes, so always check the specifications before purchasing.
Preparing the Ingredients for Whipped Cream
To get the best results from your whip cream dispenser, proper preparation of the ingredients is crucial.
Choosing the Right CreamFor the best texture, use heavy whipping cream with at least 35% fat content. This will allow the cream to whip up nicely and hold its shape. If you’re aiming for a lighter consistency, you can use lighter cream, but it may not whip as well.
Adding Sweeteners and FlavoringsWhile the cream can be whipped on its own, many people prefer to add sweeteners or flavorings. Powdered sugar is often used because it dissolves easily into the cream, preventing graininess. You can also experiment with vanilla extract, chocolate, or fruit purees to create flavored whipped cream.
Filling the Whip Cream Dispenser
Now that you have your ingredients prepared, it’s time to fill your whip cream dispenser.
Step 1: Unscrew the HeadStart by unscrewing the head of the dispenser. Be careful not to lose the rubber gasket, which is essential for creating a proper seal.
Step 2: Pour in the CreamPour the prepared cream mixture into the canister. Avoid overfilling the dispenser—leave some space at the top to allow for the cream to expand as it’s whipped. Typically, fill the canister to no more than three-quarters full.
Step 3: Secure the HeadOnce the canister is filled, securely screw the head back onto the dispenser. Make sure the rubber gasket is in place to avoid leaks.
Charging the Whip Cream Dispenser
Charging the dispenser is the next step. This process uses an N2O cartridge to create the pressure needed for whipping the cream.
Step 1: Insert the N2O ChargerTo charge the dispenser, insert an N2O charger into the designated holder at the top of the dispenser. Use the appropriate charger for your model, usually an 8-gram N2O cartridge.
Step 2: Screw on the ChargerScrew the charger into place. This will release the nitrous oxide gas into the canister, which will pressurize the cream. You may hear a hissing sound as the gas is released, which is normal.
Step 3: Shake the DispenserOnce the charger is inserted, shake the dispenser vigorously about 10 to 15 times. This helps to evenly distribute the gas throughout the cream, ensuring a smooth, consistent texture.
Dispensing the Whipped Cream
Now that your whip cream dispenser is charged, it’s time to dispense your whipped cream.
Step 1: Hold the Dispenser at an AngleHold the dispenser upright or at a slight angle, pointing the nozzle towards the bowl or plate where you want to dispense the whipped cream. Pressing the lever on the handle releases the whipped cream, so make sure you’re ready to serve!
Step 2: Dispense the CreamGently press the lever to release the whipped cream. If you prefer thicker or firmer cream, you may want to give it a second shake or use additional chargers to adjust the consistency.
Step 3: Releasing PressureOnce you’ve finished dispensing, be sure to release the remaining pressure by holding the nozzle away from your body and releasing the remaining gas in a safe manner.
Cleaning and Maintaining Your Whip Cream Dispenser
Proper maintenance and cleaning are essential to prolong the lifespan of your whip cream dispenser and ensure optimal performance.
Cleaning the CanisterAfter each use, remove the head and empty the remaining cream from the canister. Wash the canister with warm, soapy water. Use a soft brush or cloth to clean any stubborn residue, and avoid using abrasive cleaners that could scratch the surface.
Cleaning the Nozzle and HeadThe nozzle and head of the dispenser should also be cleaned thoroughly. You can disassemble the nozzle for deeper cleaning. Always ensure that the rubber gasket is in good condition and free from debris, as this can affect the seal.
Storing the DispenserWhen not in use, store the whip cream dispenser in a cool, dry place. If you’re planning to store it for an extended period, be sure to remove any remaining gas by loosening the head and allowing any remaining pressure to escape.
Troubleshooting Common Issues
While whip cream dispensers are simple tools, there are a few common issues you may encounter.
Cream Isn’t Whipping ProperlyIf your cream isn’t whipping properly, check that you’re using the right type of cream (at least 35% fat content), and ensure that the dispenser is properly charged. Also, be sure to shake the dispenser well after charging.
Leaking GasIf you notice gas leaking from the dispenser, make sure the head is securely tightened and the rubber gasket is in good condition. If the gasket is damaged, you may need to replace it.
Clogged NozzleA clogged nozzle can prevent the cream from dispensing properly. If this happens, disassemble the nozzle and clean it thoroughly to remove any blockages.
Using a whip cream dispenser is a simple yet effective way to create high-quality whipped cream at home or in a professional kitchen. By following the steps outlined in this guide, you can ensure that your whipped cream is always smooth, fluffy, and perfect for any dish. Regular maintenance and cleaning will keep your dispenser in good condition, allowing you to enjoy delicious whipped cream for many occasions to come.