
how to use whipped cream can
How to Use Whipped Cream Can: A Step-by-Step Guide
Whipped cream is a delightful topping for a variety of desserts, from pies and cakes to coffee and hot chocolate. Using a whipped cream canister makes the process much easier, giving you fresh, fluffy whipped cream in seconds. If you’re new to using a whipped cream can or simply want to improve your technique, this guide will walk you through the entire process and help you achieve perfect results every time.
Understanding Whipped Cream Cans
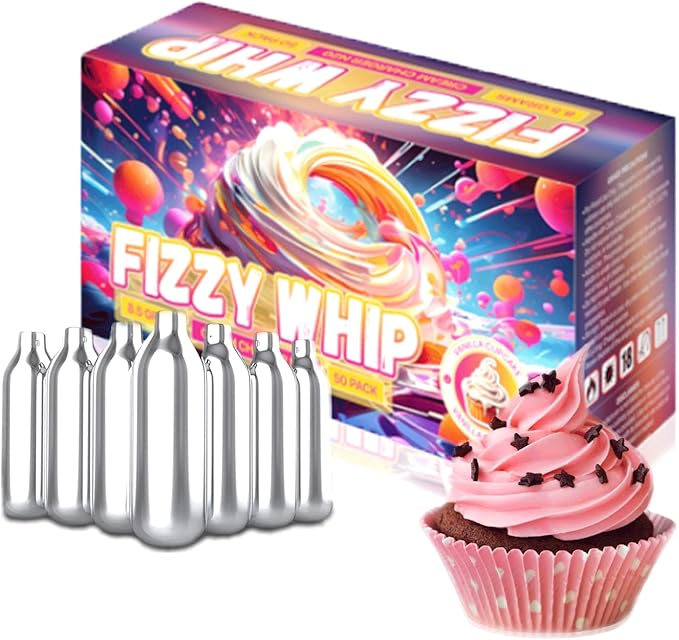
Before diving into how to use a whipped cream can, it’s important to understand its components. A whipped cream canister is typically composed of three parts: the canister itself, the nozzle, and the lid. Inside the canister, there is a mixture of cream, sugar, and sometimes flavoring agents. The whipped cream is created by introducing gas, usually nitrous oxide (N2O), into the canister.
Key Components of a Whipped Cream Can Canister: This holds the cream and is designed to withstand pressure. Nozzle: The nozzle is where the whipped cream will come out when you press the trigger. Lid: The lid holds the N2O cartridge and seals the canister.To use a whipped cream can, a small N2O cartridge is inserted into the lid, pressurizing the contents and transforming the liquid cream into whipped cream as it is dispensed through the nozzle.
How to Set Up Your Whipped Cream Canister
Setting up a whipped cream canister properly ensures smooth operation and quality whipped cream. Follow these easy steps:
Step 1: Prepare the IngredientsStart by filling the canister with heavy cream. Depending on the size of your canister, you may need to pour in anywhere from 250ml to 500ml of cream. Some people also add sugar or vanilla extract for sweetness and flavor.
Step 2: Insert the N2O CartridgeOnce the canister is filled, the next step is inserting the N2O cartridge. This is done by screwing the cartridge into the lid’s designated compartment. When the cartridge is punctured, the nitrous oxide gas is released into the canister, pressurizing it.
Step 3: Shake the CanisterTo mix the cream with the nitrous oxide, shake the canister vigorously. This action helps to distribute the gas evenly through the cream, creating a consistent whipped texture. Typically, 5-10 shakes should suffice.
How to Dispense Whipped Cream
Once your whipped cream canister is prepared, you’re ready to dispense the whipped cream. Here’s how to do it effectively:
Step 1: Hold the Canister UprightFor optimal results, always hold the canister upright, ensuring the nozzle is facing downwards. This ensures that the cream is properly dispensed without clogging the nozzle.
Step 2: Press the NozzleTo release the whipped cream, simply press the nozzle. You can control the flow of whipped cream by adjusting how firmly you press the nozzle. For more cream, press down more firmly, and for lighter coverage, press gently.
Step 3: Serve ImmediatelyWhipped cream is best served fresh, as it starts to lose its fluffy texture over time. Once dispensed, use the whipped cream immediately to top your desserts or drinks.
Troubleshooting Common Issues
Despite being an efficient tool, whipped cream canisters can sometimes face issues. Here are a few common problems and how to solve them:
Clogged NozzleOne of the most common issues with whipped cream canisters is a clogged nozzle. This can happen if the cream has not been shaken properly or if the nozzle is not cleaned after each use. To fix this, unscrew the nozzle and rinse it with warm water. Always make sure the nozzle is free of cream buildup before use.
Cream Not DispensingIf the cream isn’t dispensing properly, check the following:
Ensure that the N2O cartridge was inserted correctly. Make sure the canister is not overfilled. Shake the canister to distribute the gas and cream properly. Flat Whipped CreamFlat whipped cream can occur if too little N2O gas is used, or if the canister wasn’t shaken enough. Always ensure you are using the correct amount of gas and shake the canister thoroughly to prevent this.
Best Practices for Using a Whipped Cream Can
To ensure you get the best results with your whipped cream can, follow these helpful tips:
Use Fresh CreamUsing fresh heavy cream with a high fat content will result in better, more stable whipped cream. Avoid using light cream or non-dairy substitutes, as they may not whip properly.
Keep the Canister ColdFor the best texture, keep your whipped cream canister in the fridge. Cold cream will whip better and hold its shape longer than cream at room temperature.
Clean After Every UseAlways clean the canister thoroughly after each use to prevent the build-up of cream residue, which could cause blockages or affect the quality of the whipped cream. Simply remove the nozzle and wash it with warm water.
Don’t Overfill the CanisterIf you’re making whipped cream for a large group, it’s tempting to overfill the canister. However, it’s important not to exceed the recommended fill line. Overfilling may cause inconsistent results or prevent the proper release of gas into the cream.
How to Store Leftover Whipped Cream
If you have leftover whipped cream, you can store it in the refrigerator. The whipped cream will stay fresh for a short period, typically 24 hours. When storing, avoid sealing the canister too tightly, as this can cause pressure to build up and lead to an accidental release of gas.
Alternatively, if you have any excess whipped cream that you’d like to store in a more traditional form, you can transfer it into an airtight container and refrigerate it for later use. However, keep in mind that it may lose some of its fluffiness after being stored.
Using a whipped cream canister is a quick and easy way to create fresh whipped cream for your favorite dishes. By understanding the components, following proper setup instructions, and adhering to best practices, you can enjoy perfect whipped cream every time. Whether you’re topping a cake, coffee, or simply enjoying it on its own, a whipped cream canister is a valuable tool to have in your kitchen.
With the tips and steps provided in this guide, you’re now ready to use a whipped cream can like a pro!